Deck Design Services: How To Plan And Price Your New Deck

You want a new deck, but you don't know where to start. Do you hire a designer first, or get a contractor out for a quote? How much should you actually budget before you fall in love with a layout you can't afford? These are the questions that stall most Kirkland and Bellevue homeowners before they even pick a board sample, and searching for deck design services without a clear plan usually leads to mismatched bids and scope creep.
This guide walks you through the real process: how professional deck design works, what drives your final price, and how to get an estimate you can actually trust. You'll learn the difference between a rough sketch and a buildable design, and why skipping that step costs homeowners thousands in change orders once construction starts.
We'll cover material selection, square footage pricing, permit requirements in Washington, and how to plan features like built-in seating or multi-level layouts without blowing your budget. By the end, you'll know exactly what to ask for when you request a quote, and how a locked-in price protects you from the surprises that turn a straightforward deck project into a headache.
What deck design services actually include
Most homeowners assume deck design services means someone hands you a sketch and walks away. That's not how a professional process works. A real design package covers site evaluation, structural planning, material specification, and a cost breakdown you can actually hold a contractor to. Skipping any one of these steps is how a $25,000 deck project turns into a $35,000 one halfway through construction.
Site evaluation and feasibility
Before anyone draws a single line, a good designer walks your property. They check grade, drainage, soil conditions, and how your deck ties into existing structures like sliding doors or a walkout basement. In Kirkland and Bothell, this step also flags slope issues and setback requirements that vary by lot, which is why a generic online deck planner rarely matches what actually gets permitted.
A deck design that ignores your site's grade and drainage is a design you'll be repairing in three years.
Structural planning and permit drawings
Washington State requires permit-ready drawings for most residential decks, especially anything attached to the house or built more than 30 inches off grade. This means your design service should produce stamped structural details, not just a pretty rendering. That includes footing depth, joist spacing, ledger attachment method, and load calculations that meet current building code. You can review baseline residential code requirements through the International Code Council, which most Washington jurisdictions adopt with local amendments.
Material specification and cost estimating
Once the layout and structure are locked, the design phase should produce an itemized materials list, not a vague square footage number. That list typically includes:
Decking material (pressure-treated lumber, composite, or PVC)
Railing system and baluster spacing
Fastener and hardware type
Footing and post specifications
Stair configuration and any built-in features
This is where a locked-in price quote actually matters. Without a detailed materials breakdown, contractors pad estimates to cover unknowns, and you end up paying for their uncertainty instead of your actual build.
Design revisions and final approval
Unlike a one-shot sketch, real design services include at least one revision round before anything gets built. You should be reviewing a scaled layout, elevation views, and a materials list together, then signing off before crews show up. Vague verbal agreements at this stage are how scope disputes start once framing begins.
Step 1. Assess your needs, budget, and site
Before you call anyone for deck design services, sit down and answer three questions: how will you actually use this deck, what can you realistically spend, and what does your property allow. Skipping this step is why so many homeowners in Redmond and Woodinville end up redesigning mid-project, once they realize the layout they picked doesn't fit their lot or their wallet.
Define how you'll use the space
Start with function, not looks. A deck built for weekend grilling needs different square footage and traffic flow than one designed for hosting large groups or housing a hot tub. Walk your yard and ask yourself who uses this space, when, and how often, because that answer drives every decision that follows, from size to material to layout.
Set a realistic budget range
Decks in the Puget Sound area typically run between $35 and $90 per square foot installed, depending on material and structural complexity. Multi-level layouts, built-in seating, or elevated designs push costs toward the higher end fast. Set your range before you talk to a designer, not after, so you're not designing something you'll have to cut apart later.
Your budget should shape the design, not the other way around.
Evaluate your site's constraints
Check your property's slope, drainage patterns, and setback lines before you sketch anything. Kirkland and Bellevue lots often have grade changes that affect footing depth and stair count, and some jurisdictions restrict how close a deck can sit to your property line. A quick walk-through with a site evaluation in mind now saves you a redesign later, once a contractor points out what your lot actually allows.
Step 2. Choose your deck materials and style
Once you know your budget and site constraints, material choice becomes the next real decision point. This is also where most deck design services earn their fee, because the wrong material for your climate or usage pattern costs you far more in maintenance than the upfront price difference.
Compare your material options
Washington's wet winters and dry summers put real stress on decking materials, so weigh lifespan against upfront cost before you fall for a sample board in a showroom. Here's how the common options stack up:
Material | Upfront Cost | Maintenance | Typical Lifespan |
|---|---|---|---|
Pressure-treated lumber | Low | Annual staining/sealing | 15-20 years |
Cedar | Medium | Biennial sealing | 20-25 years |
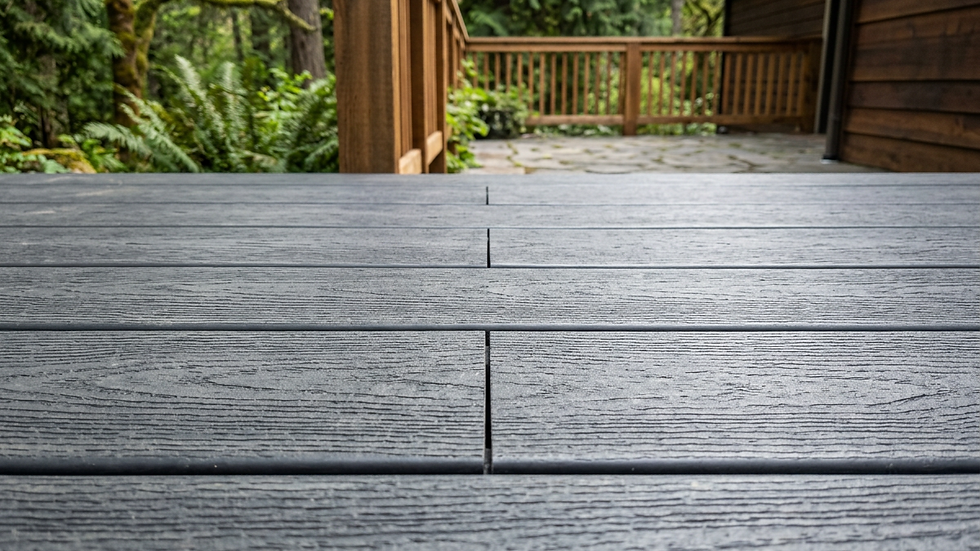
Composite | Medium-High | Occasional cleaning | 25-30 years |
PVC | High | Minimal | 30+ years |
Cheaper decking always costs more once you factor in ten years of maintenance.
Match style to your home's architecture
Your deck should look like it belongs to your house, not like it got bolted on afterward. Craftsman homes in Kirkland pair well with cedar tones and simple square railings, while newer builds in Redmond often lean toward composite decking in darker, more modern colors. Look at your existing siding, trim color, and roofline before committing, since material selection at this stage locks in the visual direction for everything else.
Factor in maintenance realistically
Be honest about how much upkeep you'll actually do. If you're not staining a deck every other year, composite or PVC saves you from a project that looks tired within five seasons. A good design service will walk you through this tradeoff during the material specification phase, not after you've already signed a contract for lumber you'll resent maintaining.
Step 3. Design your layout and features
With materials chosen, you move into the actual layout, the stage where deck design services earn their name. This is where square footage becomes a real drawing, with zones for seating, cooking, and traffic flow mapped against your house's exits and your yard's usable space.
Map traffic flow before you place furniture
Start by tracing how people will actually move from the door to the yard, not where furniture looks best on paper. A single main path avoids the awkward layouts where guests cut through a dining area to reach the stairs. Kirkland lots with side-yard access often need a secondary path built into the design, which changes your total square footage and cost before you've picked a single railing style.
A deck layout that ignores foot traffic looks great on paper and feels cramped in real life.
Choose features that add lasting value
Built-in benches, multi-level platforms, and integrated planters all sound appealing, but each one adds structural complexity and cost. Prioritize features based on how you actually use outdoor space, not what looks impressive in a photo. Common additions worth the investment include:
Built-in bench seating along the perimeter
A dedicated grilling or outdoor kitchen zone
Multi-level design to separate lounging from dining
Integrated lighting for stairs and railings
Pergola or partial roof for shade
Finalize dimensions and elevation details
Once zones and features are set, your layout planning should produce exact dimensions, elevation views, and stair placement, not a rough footprint. This is the drawing you'll hand a builder for pricing, so vague measurements here mean vague quotes later. Confirm every dimension matches what your site evaluation actually allows before you move to Step 4.
Step 4. Get quotes and choose a builder
With a finished design in hand, you're ready to request real numbers instead of ballpark guesses. This is the step where deck design services either prove their value or fall apart, because a contractor pricing off a vague sketch will always quote differently than one pricing off stamped structural drawings and a materials list.
Request itemized quotes, not lump sums
Ask every builder for a line-item breakdown covering labor, materials, permits, and site prep separately. A single number like "$42,000" tells you nothing about where your money goes or what happens if lumber prices shift mid-project. Compare quotes side by side using the same categories, and flag any bid that's missing footing depth, fastener type, or railing specs entirely, since that's usually where change orders hide later.
A vague quote today becomes an expensive change order tomorrow.
Vet the builder's track record
Check for a Washington State contractor license, active bonding, and liability insurance before you sign anything. You can verify license status directly through the Washington State Department of Labor & Industries, which is a five-minute check that saves you from unlicensed crews cutting corners on your footings. Ask for two or three references from decks built in the last 18 months, and actually call them.
Ask about locked-in pricing
Once you've narrowed your options, ask directly whether the quoted price is locked in for the full scope, or if it's subject to change once framing starts. A locked-in price quote protects you from the material cost swings and "unforeseen conditions" language that inflate final invoices. Get this commitment in writing, tied to the exact drawings and materials list from your design phase, before you schedule a start date.
Ready to start planning your deck
A great deck starts with a real plan, not a guess. You now know how professional deck design services work, from site evaluation and permit drawings through material selection and itemized quotes. Follow those four steps and you'll walk into any contractor meeting with a design that actually gets built the way you imagined it, not one that turns into a change-order headache once framing starts.
Skipping straight to a bid without a proper design phase is how homeowners in Kirkland, Bellevue, and Redmond end up overpaying for uncertainty instead of craftsmanship. Legacy Exteriors builds every deck project around a locked-in price quote, so you know your total cost before crews ever touch a shovel. If you're ready to turn your layout into a real project, request your free deck quote and inspection and get a straight answer on cost, timeline, and materials.