Ice Dams on Roof: How to Prevent and Remove Them Safely

The fix for ice dams on roof edges is to keep your attic cold and your ceiling airtight. Seal the air leaks between your living space and the attic, bring insulation to at least R-30, ventilate from the eaves to the ridge, and keep snow and debris off the roof edge. If a dam has already formed, rake the snow above it, melt a drain channel with calcium chloride, and call a pro if water is coming inside.
Ice dams are sneaky. Meltwater backs up behind a ridge of ice and creeps under your shingles, so the first sign is often a stain on the ceiling. By then the insulation may already be soaked. In Kirkland, Bellevue, Redmond and Seattle, snow is occasional rather than constant. Many homes are not set up for it, and dams tend to appear when a cold snap follows a snowfall.
This guide explains what causes ice dams, then walks through four steps: seal, insulate and ventilate, clear, and remove. At Legacy Exteriors, we repair the roof and gutter damage these dams leave behind, so we focus on fixes that hold up. You will also learn when a dam is too risky to handle yourself.
Why ice dams form and when to worry
What an ice dam is
An ice dam is a ridge of ice along the eave that blocks melting snow from draining off the roof. The trapped water backs up under the shingles and finds its way into the attic, insulation, ceilings and walls.
The damage is rarely limited to a stain. Wet insulation loses much of its insulating value, and lingering moisture can grow mold and mildew. Icicles can point to a dam higher up, but they also hang without one, so judge by the ice at the eave and not by the icicles alone.
Why ice dams form on a roof
Three conditions have to overlap:
Snow is sitting on the roof.
The upper roof surface is above 32°F, so the snow melts.
The eave surface is below 32°F, so the meltwater refreezes there.
The heat that warms the upper roof comes from your house, not from the sun. In many homes most of it travels as warm air leaking through gaps around ceiling lights, hatches and ducts. Less of it passes through the insulation itself.
Ice dams are a heat-loss problem, not a roofing problem, so the fix starts in the attic.
When to worry
Take action when you see ceiling stains, drips from the soffit or exterior walls, damp attic insulation, or ice building up past the eave onto the roof surface. A roofer is rarely to blame for a dam, because the cause is almost always heat escaping from the house. Still, waterproof underlayment along the eaves limits how far backed-up water can travel.
Step 1. Seal air leaks into the attic
Find and close the leak points
Start with the places where conditioned air escapes into the attic. Do this before you add any insulation, because insulation does not stop moving air. Check these spots first:
Leak point | Fix |
|---|---|
Attic hatch | Weatherstrip the frame and insulate the cover |
Recessed can lights | Replace with sealed, IC-rated fixtures |
Bath, kitchen and dryer ducts | Route them outside the house, never into the attic |
Wires, pipes and small gaps | Seal with fire-stop sealant or spray foam |
Chimney gap | Close with sheet metal and high-temperature sealant |
Why sealing comes first
Warm, moist air from your living space rises through every gap and heats the underside of the roof deck. Fluffy insulation laid over an unsealed ceiling hides the leaks but does not stop them. A weatherization contractor can run a blower door test and use an infrared camera to show you exactly where the heat escapes.
Seal first, insulate second: air movement beats insulation every time.
Step 2. Add insulation and ventilation
Bring insulation to R-30 or more
The National Weather Service notes that most experts want attic insulation of at least R-30, with R-38 preferable in colder climates. If you can see the tops of your ceiling joists, you almost certainly need more. Blown-in insulation is the usual choice for an open attic floor, and a roofing or insulation professional can tell you which type suits your attic.
Ventilate from the eaves to the ridge
Ventilation keeps the roof deck as cold as the outdoor air, so snow does not melt unevenly. A common guideline is 1 square foot of vent opening per 300 square feet of attic floor, split between soffit and ridge vents. For a 1,200-square-foot attic floor, that means 4 square feet total, or about 2 square feet low at the soffits and 2 square feet high at the ridge.
Keep insulation from blocking the soffit vents. Foam or cardboard baffles between the rafters hold a clear air channel open. If you have a vaulted ceiling, each rafter bay needs its own path from eave to ridge.
Cold roof, warm house: insulation holds the heat in and ventilation carries the leftovers out.
Step 3. Clear gutters and rake snow
Keep gutters and downspouts open
Clean out leaves, sticks and debris before the first freeze so meltwater has a path off the roof. Check again after storms and knock snow and icicles out of the gutters during winter. If your gutters are old or sagging, replacement is worth considering. We install seamless aluminum gutters, which have no seams along each run to catch debris.
Rake the snow from the roof edge
Snow is one of the three ingredients, so removing it starves the dam. Use a roof rake with a long handle from the ground and pull down the lowest few feet of snow. Rakes with wheels are gentler on shingles. Stand clear of the edge, since a whole sheet of snow can slide at once.
De-icing cables are a stopgap, not a cure. They can start around $35, and you run them along the eave and gutter to keep a drainage channel open. Follow the manufacturer's instructions, and make sure the water they release does not refreeze somewhere else.
Rake the first few feet from the ground, never from a ladder or the roof.
Step 4. Remove an ice dam that has formed
Open a drain path, safely
Stay off the roof. A fall, or a slab of ice coming down on you, is a bigger risk than the dam. Work from the ground in this order:
Rake the snow above the dam so no new meltwater feeds it.
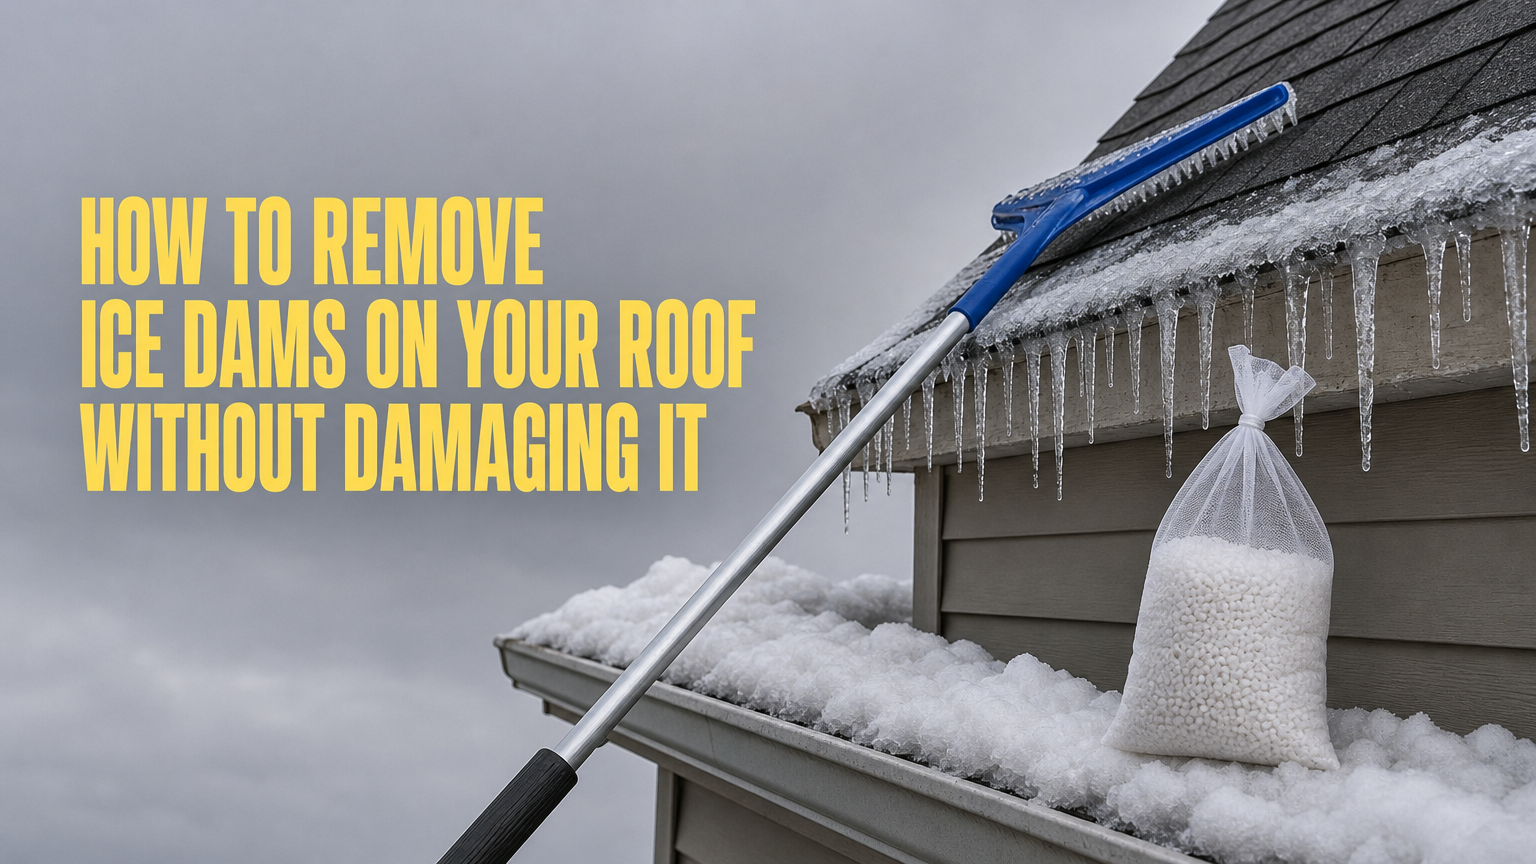
Fill pantyhose or tube socks with calcium chloride and tie them off.
Lay them vertically across the dam, hanging an inch or two over the edge, to melt a channel.
If water is already entering the house, you can carefully hose a channel with tap water on a day above freezing, working up from the lower edge. This helps only for a few days.
What not to do
Never chip at the ice with a hammer, axe or shovel, because you will break shingles and flashing. Do not use rock salt either, since it can damage shingles and the plants below.
Dry out and call a professional
Dry wet ceilings and insulation promptly, and wait to repair interior damage until everything is dry. Photograph the damage and ask your insurer whether sudden water damage from ice is covered, because many homeowners policies do cover it, but terms vary. If you see active leaks, large dams or damaged shingles, an inspection will show whether the roof, flashing or skylight seals were compromised.
Melt a channel, never chip: the roof is easier to protect than to repair.
Keep the heat in and the ice off
Ice dams come from heat escaping into a snow-covered roof. Sealing air leaks, insulating to R-30 or better, ventilating from the eaves to the ridge, and keeping gutters and eaves clear remove the conditions they need. If one forms anyway, melt a channel from the ground and leave the rest to a professional.
If you have noticed ceiling stains, damp insulation or ice backing up along your eaves, have the roof checked before the next cold snap. Legacy Exteriors offers a free roof inspection in the Kirkland, Bellevue, Redmond and Bothell area, and any repair comes with a locked-in price quote.