GAF WeatherWatch Leak Barrier: How It Works and Where It's Installed

Updated: Aug 5
Ice dams and wind-driven rain don't care how new your shingles are. If water finds a gap at your eaves, valleys, or skylight flashing, it will work its way into your attic and ceilings long before you spot a leak. That's exactly the problem the GAF WeatherWatch leak barrier is built to solve, and it's one of the most misunderstood products in a roofing estimate.
WeatherWatch is a self-adhering waterproofing membrane that GAF installs at the roof's most vulnerable points before shingles ever go down. It seals around nails and fasteners, so even if water gets under the shingle layer, it can't reach your roof deck. Homeowners searching for this product usually want to know one thing: does it actually work better than alternatives like StormGuard, and is it worth requesting by name on your next roofing job.
In this guide, we'll break down what WeatherWatch is made of, how it compares to StormGuard and other leak barriers, where roofing crews source it, and what proper installation looks like on a real roof. If you're planning a roof replacement in Kirkland or the greater Seattle area, this is the underlayment conversation worth having before you sign a contract.
Why a leak barrier matters for your roof
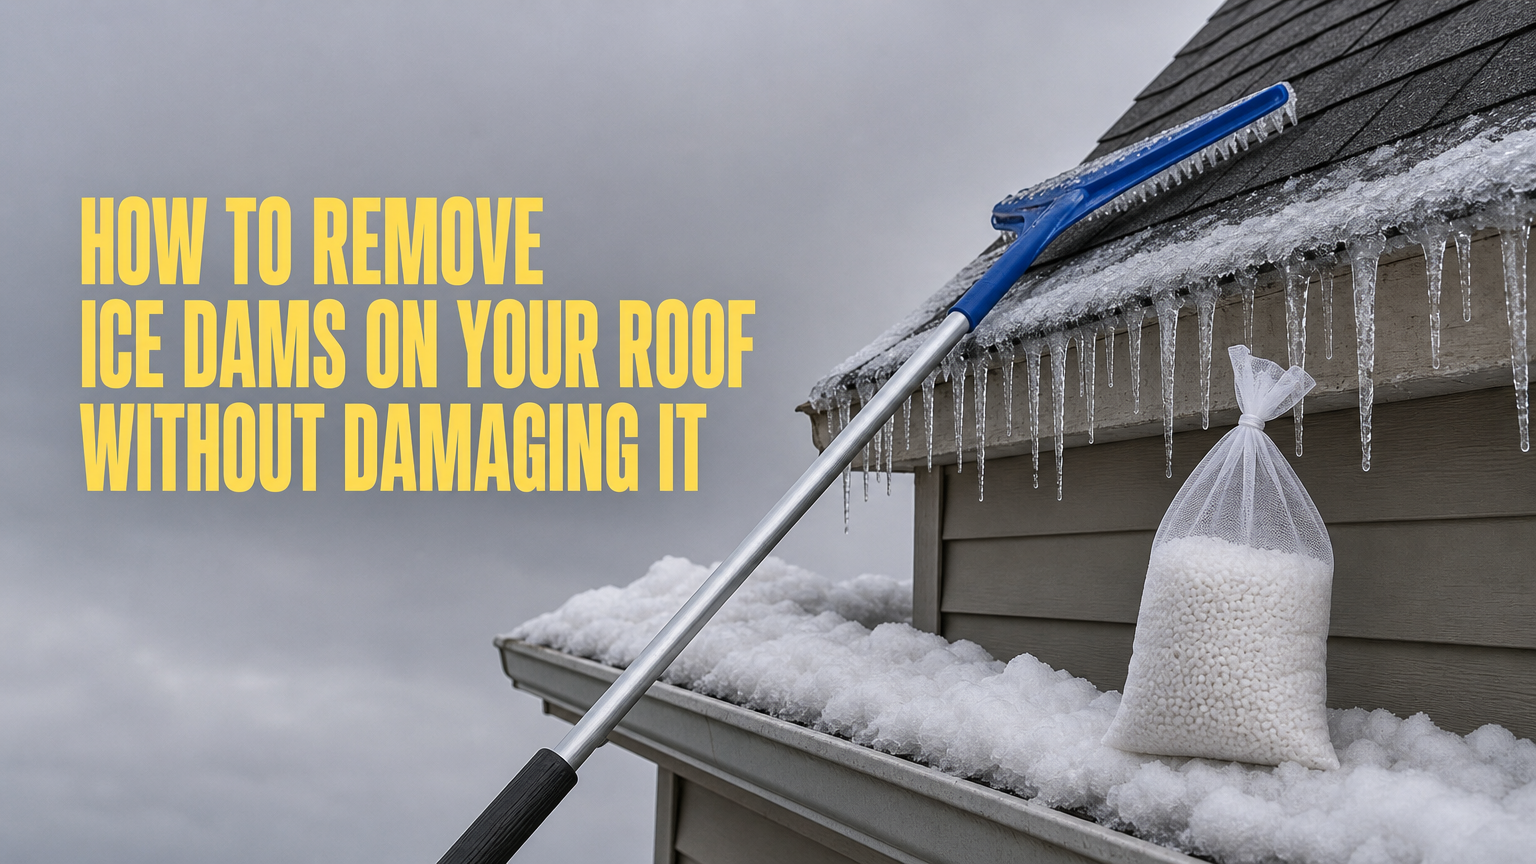
Pacific Northwest winters put roofs through a specific kind of stress. Snow melts on the warm upper deck, refreezes at the cold overhang, and backs up under your shingles as an ice dam. Without a barrier underneath, that trapped water finds every nail hole and seam and drips straight into your insulation. Kirkland, Bothell, and Bellevue homes see this every few winters, and the damage rarely shows up right away. You notice a stain on the ceiling months later, after the plywood underneath has already started to rot.
Gutters and flashing help, but they're not designed to stop water that's already backed up under the shingle layer. That's the gap a leak barrier closes. GAF WeatherWatch is installed at eaves, valleys, and around penetrations like chimneys and skylights, the exact spots where wind-driven rain and ice dams cause the most trouble. It's a self-sealing membrane, so when a roofer drives a nail through it during shingle installation, the material seals back around the shaft instead of leaving an open path for water.
A roof without a leak barrier is only as waterproof as its weakest nail hole.
Insurance adjusters and roofing inspectors both look for this detail. If a claim comes down to whether a roof met current building standards, having a documented leak barrier at vulnerable zones can be the difference between a covered repair and an out-of-pocket one. The International Residential Code requires an ice barrier in regions with a history of ice forming along eaves, and much of Washington falls into that category. You can review the specific provisions in the International Code Council's IRC section on ice barriers if you want the exact language your local jurisdiction enforces.
Skipping this layer to save a few hundred dollars on materials is one of the most common regrets homeowners bring up after a leak repair. The membrane itself is a small percentage of total roofing cost, but the water damage it prevents, rotted decking, ruined insulation, stained drywall, costs far more to fix than it would have cost to install correctly the first time.
How to install GAF WeatherWatch leak barrier
Getting WeatherWatch right comes down to sequence and surface prep. A roofer installs it directly on clean, dry roof decking before any felt paper or shingles go down, starting at the lowest point of the eave and working up so each course overlaps the one below. Overlap direction matters here. Water always needs to run over a seam, never into one.
Most crews follow a similar process on a typical Kirkland roof:
Sweep the deck clean of dust, sawdust, and debris so the adhesive bonds properly.
Roll out the membrane at the eave, extending it at least 24 inches past the interior wall line, per GAF's published guidance.
Press firmly along the full width to activate the self-adhering backing, working out any air pockets.
Overlap each subsequent course by a minimum of 3 inches, and seal end laps by 6 inches.
Repeat the same process in valleys and around skylights, chimneys, and vent penetrations.
A leak barrier only works if every overlap sheds water downhill, not into the seam.
Temperature affects the install too. The adhesive on WeatherWatch needs a minimum surface temperature to bond correctly, which is why reputable crews avoid installing it during Pacific Northwest cold snaps unless they've warmed the material first. Skipping this step is a common shortcut that leads to peeling edges within a year.
This isn't a weekend DIY project for most homeowners. A single misaligned seam or under-lapped course can undo the entire purpose of the barrier, so it's worth hiring a licensed roofing contractor who installs it to GAF's exact specifications every time.
GAF WeatherWatch vs StormGuard: which one fits your roof
Both GAF WeatherWatch and StormGuard are self-adhering leak barriers built for the same job, stopping water at eaves, valleys, and penetrations before it reaches the deck. StormGuard is GAF's other leak barrier line, and the confusion homeowners run into is that both products live under the same manufacturer, just packaged for different budgets and roof types.
WeatherWatch uses a heavier rubberized asphalt formulation, which gives it stronger flexibility in cold weather and a more reliable seal around fasteners over time. StormGuard leans lighter, which keeps material costs down but sacrifices some of that cold-weather flexibility, a real consideration for a Kirkland winter.
Feature | WeatherWatch | StormGuard |
|---|---|---|
Membrane thickness | Heavier rubberized asphalt | Lighter formulation |
Cold-weather flexibility | Higher | Moderate |
Best use case | Eaves, valleys, harsh climates | Standard eaves, moderate climates |
Typical cost tier | Premium | Budget-friendly |
Choose the barrier based on your climate and roof geometry, not just the price tag on the roll.
For most homes in the greater Seattle area, where ice dams and sustained wind-driven rain are a real annual threat, WeatherWatch is the stronger choice. If your roof has simple geometry, good attic ventilation already, and a milder microclimate, StormGuard can still meet code and perform well. A contractor who's walked your roof and looked at your attic insulation is in a better position to tell you which one actually fits your situation than any spec sheet alone.
Where to buy WeatherWatch and what it costs
Buying through a contractor versus a supplier
GAF sells WeatherWatch exclusively through its certified distributor network, not big box retail shelves. You won't find it sitting next to shingles at a typical home improvement store. Most homeowners get it bundled into a roofing estimate, purchased directly by their licensed contractor through a GAF-authorized supplier like ABC Supply or Beacon Roofing Supply. Buying it yourself is possible through some roofing supply yards, but you'll pay retail pricing and still need a qualified installer to apply it correctly.
Going through your contractor also protects your access to GAF's warranty coverage. Materials installed outside a GAF-certified crew's normal process can void the extended warranty terms tied to a full roofing system, which matters more than the sticker price on the roll.
The real cost of WeatherWatch isn't the roll price, it's what happens to your warranty if it's installed wrong.
What it actually costs
Expect to pay more than a basic felt underlayment, but far less than the repairs a leak causes.
Item | Typical Cost Range |
|---|---|
WeatherWatch per roll (covers ~2 squares) | $60–$90 |
Installed cost per square (labor included) | $120–$180 |
Percentage of total roof job | 3%–6% |
Most Kirkland-area roofing quotes fold this into the underlayment line item, so ask your contractor to break it out if you want to see the exact number.
Protecting your roof for the long haul
A roof stands or falls on details most homeowners never see, and the leak barrier is one of the biggest. Whether your contractor recommends WeatherWatch or StormGuard, the goal stays the same: keep water out of your decking before it ever becomes a ceiling stain. Skipping this layer or rushing the install saves a little money upfront and costs a lot more the first time an ice dam backs up under your shingles.
Getting this right takes more than a good product, it takes a crew that installs it to spec every time. If you're planning a roof replacement in Kirkland, Bellevue, or anywhere around Seattle, talk to a team that treats leak barriers as a standard part of the job, not an upsell. Request a free inspection and locked-in quote from Legacy Exteriors, and find out exactly what your roof needs before the next storm season tests it.