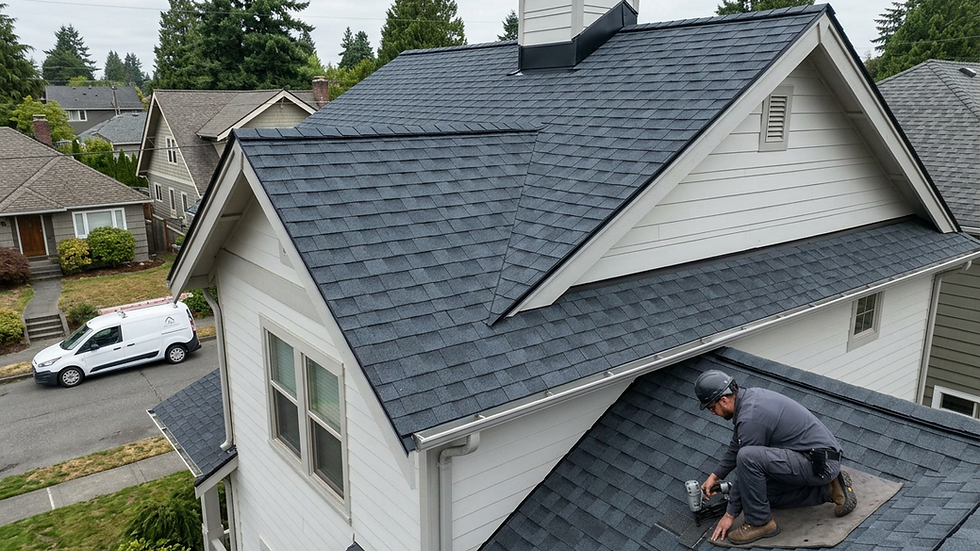
Vinyl Siding Diagrams with Pictures Explained: Vinyl Siding Visuals for Your Home

When it comes to upgrading your home’s exterior in Kirkland, Bellevue, Bothell, or the surrounding Seattle area, vinyl siding is a popular choice. It offers durability, low maintenance, and a fresh look that can boost your home’s curb appeal. However, understanding how vinyl siding fits together and is installed can feel overwhelming. That’s why I want to walk you through vinyl siding diagrams with pictures explained in a clear, approachable way. This will help you feel confident about the process and the quality workmanship you deserve.
Understanding Vinyl Siding Visuals: The Basics of Installation
Vinyl siding is made up of interlocking panels that create a weather-resistant barrier on your home’s exterior. Each piece is designed to snap into place, allowing for expansion and contraction with temperature changes. The diagrams you’ll see in this post break down the key components and how they fit together.
Here are the main parts you’ll find in a vinyl siding installation:
Starter Strip: This is the first piece installed at the bottom of the wall. It holds the first row of siding panels securely.
J-Channel: Installed around windows, doors, and corners, this trim piece hides the cut edges of siding panels.
Corner Posts: These vertical pieces cover the siding edges at the corners of your home.
Siding Panels: The main body of the siding, these panels lock into the starter strip and each other.
F-Channel: Used to hold soffit panels or trim pieces in place.
Undersill Trim: Secures siding panels under windows or other horizontal trim.
Each component plays a vital role in protecting your home from moisture and wind while providing a clean, finished look.

Vinyl siding starter strip and panel installation showing how the first row is secured.
How Vinyl Siding Visuals Help You Understand the Installation Process
Visual aids like diagrams and pictures are invaluable when it comes to vinyl siding. They show you exactly how each piece fits and why proper installation matters. For example, a common mistake is nailing siding panels too tightly, which can cause buckling when the material expands in warm weather.
By reviewing a vinyl siding installation diagram with pictures, you can see:
The correct spacing for nails and fasteners.
How panels overlap to create a water-resistant seal.
The placement of trim pieces around windows and doors.
How to leave room for siding expansion and contraction.
This knowledge helps you ask the right questions when hiring a contractor and ensures you get the quality workmanship your home deserves.

J-channel and corner post installation detail showing trim placement around windows and corners.
Common Vinyl Siding Installation Challenges and How Diagrams Clarify Them
Installing vinyl siding is not just about snapping panels onto a wall. There are several challenges that can arise, especially on homes with complex shapes or older framing. Here are some common issues and how diagrams help clarify solutions:
Uneven Walls
Older homes often have walls that are not perfectly flat. Diagrams show how to use furring strips or shims behind siding to create a smooth surface.
Window and Door Openings
Properly fitting siding around windows and doors requires precise cuts and trim placement. Visuals demonstrate how J-channels and undersill trims work together to prevent water infiltration.
Corners and Transitions
Corners are vulnerable points for water and wind. Diagrams explain how corner posts and flashing should be installed to maintain a tight seal.
Ventilation and Soffits
Good ventilation is critical to prevent moisture buildup in your attic. Diagrams illustrate how F-channels and soffit panels integrate with siding for airflow.
Understanding these challenges through visuals helps you appreciate the skill involved and the importance of hiring experienced professionals.
How to Use a Vinyl Siding Installation Diagram with Pictures for Your Project
If you’re planning a siding upgrade or repair, having access to a vinyl siding installation diagram with pictures can be a game-changer. Here’s how to make the most of these resources:
Review Before You Start
Familiarize yourself with the components and sequence of installation. This helps you understand what to expect and spot any potential issues early.
Discuss with Your Contractor
Use the diagrams to ask specific questions about their installation methods. For example, inquire about how they handle corners or ensure proper nail spacing.
DIY with Confidence
If you’re tackling a small siding repair yourself, diagrams provide step-by-step guidance to avoid common mistakes.
Plan Material Orders
Knowing the parts and layout helps you estimate how much siding, trim, and accessories you’ll need.
By using these visuals as a reference, you can ensure your siding project is done right the first time, protecting your home from Seattle’s wet climate.
Why Quality Installation Matters for Seattle-Area Homes
Seattle-area homes in Kirkland, Bellevue, Bothell, and nearby communities face unique weather challenges. Frequent rain, wind, and seasonal temperature swings mean your siding must be installed with precision to prevent leaks and damage.
Properly installed vinyl siding:
Protects Against Moisture
Prevents water from seeping into your walls, which can cause mold and rot.
Improves Energy Efficiency
Helps insulate your home, reducing heating costs during chilly Pacific Northwest winters.
Enhances Curb Appeal
A clean, well-fitted siding job boosts your home’s appearance and value.
Requires Less Maintenance
Correct installation reduces the risk of warping, cracking, or fading.
Using detailed vinyl siding visuals and diagrams ensures your siding system performs well for years to come, giving you peace of mind and real value.
Taking the Next Step with Vinyl Siding Visuals
If you’re ready to explore vinyl siding options or want to understand more about the installation process, I encourage you to check out a vinyl siding installation diagram with pictures. This resource breaks down each step visually, making it easier to grasp the details.
Whether you’re in Kirkland, Bellevue, Bothell, or the surrounding Seattle area, investing time in understanding vinyl siding installation will help you make informed decisions. Quality workmanship and transparency are key to protecting your home and enhancing its beauty.
Feel free to reach out with any questions or to discuss your exterior upgrade plans. Together, we can ensure your home looks great and stands strong for years to come.