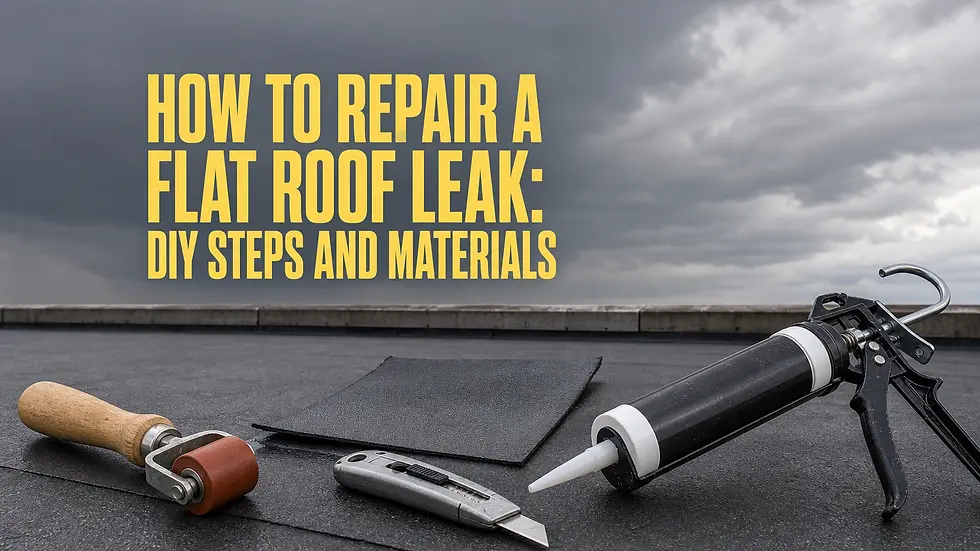
How to Repair a Flat Roof: Costs and DIY Steps

A flat roof leak never waits for convenient timing. You spot a water stain on the ceiling, or you climb up and find a soft spot near the drain, and suddenly you're searching for roof repair flat solutions before the next Pacific Northwest storm makes it worse. Kirkland's wet winters are brutal on low-slope roofing, and the roof problems heavy PNW rain causes turn into rotted decking fast if you wait too long.
This guide walks you through what actually causes flat roof damage, which repairs you can handle yourself with basic tools, and when a small patch job turns into a job that needs licensed professionals. You'll also get real numbers, because guessing at cost is how homeowners end up either overpaying or underestimating a repair that snowballs into a full replacement.
We'll cover the most common failure points on flat roofs, from ponding water to seam separation, step-by-step DIY patching instructions for minor issues, and a realistic breakdown of repair costs in the Kirkland, Bellevue, and Seattle area. By the end, you'll know exactly whether to grab a caulk gun or call in a contractor, and what a fair quote should look like either way.
What causes flat roof leaks and what repairs cost
Most flat roof failures start small. Ponding water sits on a low-slope roof for more than 48 hours after a storm, and that standing water slowly breaks down the membrane, whether it's TPO, EPDM, or a modified bitumen system. Add in Kirkland's freeze-thaw cycles each winter, and any hairline crack becomes an entry point for water within a season or two. Seams are the other weak spot. Adhesive-bonded seams shrink and pull apart over time, especially on roofs older than 12 to 15 years, and that separation is where most active leaks originate.
A flat roof rarely fails all at once. It fails one weak seam or one pooling spot at a time, and catching that early is the whole game.
UV exposure also plays a bigger role than most homeowners expect. Membrane materials degrade under sun exposure, and once the surface gets brittle, foot traffic from HVAC maintenance or gutter cleaning can crack it. Flashing around vents, skylights, and roof edges is another common culprit, and the way flashing is installed around penetrations decides how long it holds. Metal flashing expands and contracts with temperature swings, and the sealant around it fails long before the metal itself does.
Typical flat roof repair costs in the Kirkland area
Pricing depends heavily on the size of the damage and the material involved. Here's what homeowners in the Kirkland, Bellevue, and Seattle area typically pay for flat roof leak repair, based on 2026 roof leak repair pricing:
Repair Type | Typical Cost Range | Notes |
|---|---|---|
Small membrane patch (under 10 sq ft) | $250–$500 | DIY-friendly with the right sealant |
Seam re-sealing | $300–$700 | Labor-heavy, precision matters |
Flashing repair or replacement | $400–$900 | Common around vents and skylights |
Ponding water correction | $800–$2,500 | May require added drainage or tapered insulation |
Full section replacement | $2,000–$6,000+ | Needed when decking is compromised |
Regional labor rates and material availability push these numbers around, but they give you a realistic starting point before you call anyone for a quote. If a contractor quotes far below these ranges, ask hard questions about what materials they're actually using. If you're deciding whether to patch now or replace the whole roof, get both numbers before deciding, since a patchwork roof past year 15 often costs more over time than a planned upgrade.
Step 1. Inspect the roof and pinpoint the leak
Start your inspection on a dry day, ideally 24 to 48 hours after the last rain, so you can see where water actually pooled instead of guessing from a fresh puddle. Walk the entire roof surface in soft-soled shoes and check every seam, drain, and flashing point twice. Water travels sideways under a membrane before it shows up as a ceiling stain, so the wet spot indoors is rarely directly below the actual leak. Look uphill from that stain first.
The leak you see inside your house is almost never the leak on your roof, so trace it uphill before you touch a repair kit.
What to check during your walk-through
Bring a flashlight, a moisture meter if you have one, and a notepad or your phone camera to document everything you find, the same way a pro's roof inspection report records each finding.
Check all seams for lifting edges or visible gaps
Press on the membrane near drains to feel for soft, spongy decking underneath
Inspect flashing around vents, skylights, and roof edges for cracked sealant
Look for blistering or bubbling, which signals trapped moisture
Note any areas where water pools longer than 48 hours after rain
Mark every suspect area with chalk or painter's tape as you go. Multiple failure points are common on roofs older than 10 years, so don't stop hunting after finding one obvious problem. If you find soft decking anywhere, that's your signal this job may need more than a patch, and you'll want to keep that in mind before you commit to a DIY fix in the next steps.
Step 2. Prep the damaged area for repair
Once you've marked every trouble spot, clear a workspace before you open any sealant. Sweep away debris, gravel, and loose granules from at least a two-foot radius around each damaged area, then let the surface dry completely if you rinsed off dirt or bird droppings. A damp membrane won't let patching materials bond, and that's the number one reason DIY flat roof repair kits fail within a month of application.
Skip the prep work and even the best patch material will peel off within weeks.
Cleaning and drying the surface
Grab a stiff-bristle broom, a shop vac if you have one, and clean rags. Wipe down the damaged area with a mild detergent solution to remove oils, mildew, or old sealant residue, then rinse with clean water and let it air dry for at least an hour in direct sun.
Cutting away compromised material
Afterward, use a utility knife to cut away any blistered, cracked, or delaminated membrane around the leak. Cut back to solid, flat material with no visible bubbling. Trim the edges at an angle rather than straight up and down, since a beveled cut gives your patch better contact and reduces the chance of a lip that catches standing water later.
Cut at least 2 inches beyond visible damage on all sides
Remove any wet or spongy insulation underneath before patching
Vacuum out debris from the cut before applying primer
Finally, apply a compatible primer to the exposed membrane and surrounding area if your patch kit calls for one. Skipping primer is a common shortcut that undermines otherwise solid roof repair flat work, so give it the full cure time listed on the label before moving to the patch itself.
Step 3. Patch and seal the membrane
Now that the area is clean, dry, and primed, cut your patch material at least 2 inches larger than the damaged spot on every side. Membrane patches should match your existing roofing material whenever possible, since mixing EPDM patches on a TPO roof creates a bond that fails within a season. Press the patch into place starting from one edge and working across, smoothing out air pockets with a seam roller as you go.
A patch with trapped air underneath isn't sealed, it's just a bubble waiting to lift in the next windstorm.
Applying the patch
Work in sections so the adhesive doesn't skin over before you get the patch down.
Peel back only a few inches of backing at a time on self-adhesive patches
Roll firmly from the center outward to push out trapped air
Check all four edges lie flat with no lifted corners
Apply a second thin coat of sealant if the kit instructions call for it
Sealing the edges
Once the patch sits flat, run a bead of compatible roof sealant around the entire perimeter, feathering it out with a putty knife so there's no raised lip. Rain and debris both collect at sharp edges, and that's exactly where a fresh patch starts to fail first. Give the sealant its full cure time, usually 24 to 48 hours depending on humidity, before you walk on it again or run water over the area to test it. Skipping this cure window is a common reason otherwise solid flat roof leak repair work comes loose within the first month.
Step 4. Know when to call a professional roofer
Soft or spongy decking underneath any patch area is your clearest signal that the job has passed the point of a DIY fix and outgrew a caulk gun. Compromised decking means water already reached the wood structure below the membrane, and no surface patch fixes rot that's already spreading. Recurring leaks in the same general area after two or more DIY attempts point to a bigger issue too, usually a drainage problem or a seam failure that runs longer than what's visible from the surface.
If you've patched the same spot twice and it's still leaking, the problem isn't the patch, it's what's underneath it.
Signs the damage is beyond a DIY patch
Watch for these red flags before you spend another weekend on the roof:
Soft, spongy, or bouncy decking anywhere you step
Water stains spreading across more than one interior room
Damage covering more than roughly 20 square feet
Ponding water that returns within days of correcting drainage
Multiple seams failing across different sections of the roof
Getting a fair professional quote
Roofing contractors who inspect the full roof, not just the visible leak, tend to catch problems a surface patch would miss entirely. Our Kirkland roof repair crew builds every estimate around a locked-in price quote, so you know the full cost before work starts, with no surprise add-ons once the crew is already up there. That matters most on flat roofs, since hidden decking damage is exactly the kind of discovery that inflates a bill mid-project if your contractor doesn't commit to a number upfront. Request a professional inspection and quote once you spot any of the warning signs above, rather than waiting for the next storm to make the decision for you.
Keeping your flat roof leak-free for the long haul
Small fixes now beat emergency calls later. A flat roof leak rarely announces itself loudly until the decking underneath is already soaked, so the habits that matter most are the boring ones: walking the roof after every major storm, clearing drains before leaves pile up, and patching hairline cracks the same season you spot them. Whether you handled this repair yourself with a patch kit or decided the damage was beyond a weekend project, the roof still needs a checkup every six months if you want it to last its full lifespan.
Treat your flat roof like any other part of the house that protects your investment, not something you ignore until water shows up on the ceiling. If you're not sure whether that soft spot needs a patch or a professional eye, don't guess. Schedule a free flat roof inspection in Kirkland or Bellevue, because catching the problem now costs a lot less than replacing decking next year.