How to Repair a Roof: A Step-by-Step Guide

A dripping ceiling or a curling shingle rarely waits for convenient timing. In the Pacific Northwest, where rain hits your roof more days than not, small problems turn into rotted decking and stained drywall fast. If you're searching for the repair of roof damage on your own home, you're probably staring at a water stain right now and wondering how bad it really is.
This guide walks you through diagnosing the damage, deciding what you can safely handle yourself, and knowing exactly when to call in a roof leak repair service instead of climbing up there with a tarp and good intentions. Some fixes, like replacing a handful of cracked shingles, are manageable for a comfortable DIYer with the right safety gear. Others, like flashing failures or widespread wear, need a trained crew and the right materials to actually stay fixed.
We'll cover how to spot the source of a leak, the tools and materials you'll need, step-by-step repair instructions, and the warning signs that mean it's time to bring in a professional. As a Kirkland-based roofing contractor working across Bellevue, Redmond, and Seattle, we've seen what happens when quick patches skip the underlying problem, and we'll show you how to avoid that mistake.
Do you need a repair or a full roof replacement?
Before you buy a single tube of sealant, figure out whether you're dealing with a spot repair or a roof that's telling you it's done, because choosing between a spot repair and a new roof changes every decision after it. Roof age is the first clue. If your shingles are past 20 years old and you're seeing damage in multiple areas rather than one isolated spot, a patch job just delays the inevitable and wastes money you'll spend again next year. If the roof is younger and the damage is contained, like a single cracked shingle or a nail pop, repair is the right call.
A roof that's failing in more than one spot isn't asking for a patch, it's asking for a replacement.
Quick signs checklist
Use this table to sort what you're seeing into the right column before you decide on a fix.
Sign | Points to Repair | Points to Replacement |
|---|---|---|
Age of roofing material | Under 15 years | Over 20 years |
Number of damaged spots | 1 to 3 isolated areas | Widespread, multiple sections |
Granule loss | Minimal, localized | Heavy, visible in gutters |
Decking condition | Solid, no soft spots | Soft, spongy, or rotted |
Previous repairs | None or one prior fix | Several patches already done |
Granule loss deserves its own mention. Look in your gutters and downspouts after a storm. A handful of granules is normal wear. Handfuls every time it rains means the shingles are breaking down and a full roof replacement is coming whether you patch now or not, so it's worth knowing what a new asphalt shingle roof will run you.
Decking condition is the deciding factor for us on every inspection. Soft or spongy spots under the shingles mean water has been getting in longer than you think, and no surface repair fixes rotted plywood underneath. If you press on the roof deck from the attic and it flexes, that's your answer, and it's time to talk replacement rather than repair.
When you're not sure which category your roof falls into, our team offers a free roof inspection with a locked-in price quote before any work starts, so you know exactly what you're paying for either way.
Step 1. Inspect the roof and pinpoint the damage
Start from the ground with binoculars before you ever touch a ladder. Walk the perimeter of your house and look for missing shingles, curling edges, or dark streaks that suggest trapped moisture. Check your gutters for granule buildup and look at flashing around chimneys, vents, and skylights, since these transition points cause more leaks than the shingle field itself.
Inside, head to the attic with a flashlight during daylight hours. Trace any water stains back to their highest point, because water travels along rafters before it drips down, so the wet ceiling patch is rarely directly under the actual hole, and working back to the leak's true entry point saves you patching twice.
Find where the water enters, not just where it shows up, or you'll patch the wrong spot twice.
What to document during inspection
Photos of every damaged area, taken close up and from a distance
Exact location relative to vents, chimneys, or roof valleys
Size of the affected area, in inches or feet
Whether decking feels soft when pressed from inside the attic
This record helps you or a contractor prioritize repairs accurately, and it mirrors the way a pro documents findings in a written inspection report.
Step 2. Gather the right safety gear and materials
Safety comes before any repair, especially on a wet Pacific Northwest roof where moss and algae make shingles slick even on dry days. Rubber-soled boots with good tread, a stabilized ladder secured at the top and bottom, and a roofing harness anchored to a solid point are non-negotiable if you're going up there yourself. Never work a roof alone, and skip it entirely if the pitch is steep or the shingles are wet.
Once you're geared up, match your materials to the damage you documented in Step 1. Grabbing the wrong sealant or shingle type is one of the most common DIY mistakes we see when we're called in to fix a failed patch.
The right harness matters more than the right sealant, because you can't fix a roof from the hospital.
Materials checklist by repair type
Shingle repair: matching replacement shingles, roofing nails, pry bar, hammer
Flashing repair: aluminum flashing, roofing cement, caulking gun
Small leaks: roofing sealant or asphalt cement, putty knife
General: tarp for temporary coverage, work gloves, safety glasses
Buy a little extra material. Running back to the hardware store mid-repair on a wet roof isn't worth the risk.
Step 3. Repair the leak, shingles, or flashing
Begin with the replacement shingle if that's your damage type, following the same sequence as a full shingle repair walkthrough. Slide a flat pry bar under the shingle above the damaged one to break the seal, then pull the nails holding the bad shingle in place. Slide the new shingle into position, matching the exposure line of the row around it, and nail it down with four roofing nails just below the seal strip.
Flashing failures need a different approach, and it helps to know how flashing is supposed to go on around chimneys and vents. Pull back the shingles surrounding the flashing, remove the old piece, and slide in new aluminum flashing that overlaps the roofing material by at least two inches. Run a bead of roofing cement along every seam before pressing the shingles back down.
A shingle that isn't nailed at the right spot will lift again by next winter's first windstorm.
Quick repair steps
Remove damaged material with a pry bar
Slide in the matching replacement
Nail or fasten at the correct exposure line
Apply cement or sealant along every seam
Work in dry conditions whenever possible. Wet shingles won't seal properly, and that's how a fresh roof leak repair service job fails within weeks.
Step 4. Seal the repair and check your work
Once the new shingle or flashing is in place, run a finishing bead of roofing cement over every nail head and seam edge. Water finds the smallest gap, so don't skimp here. Press the sealant flat with a putty knife instead of leaving it in a raised bead that traps water and cracks in freezing weather.
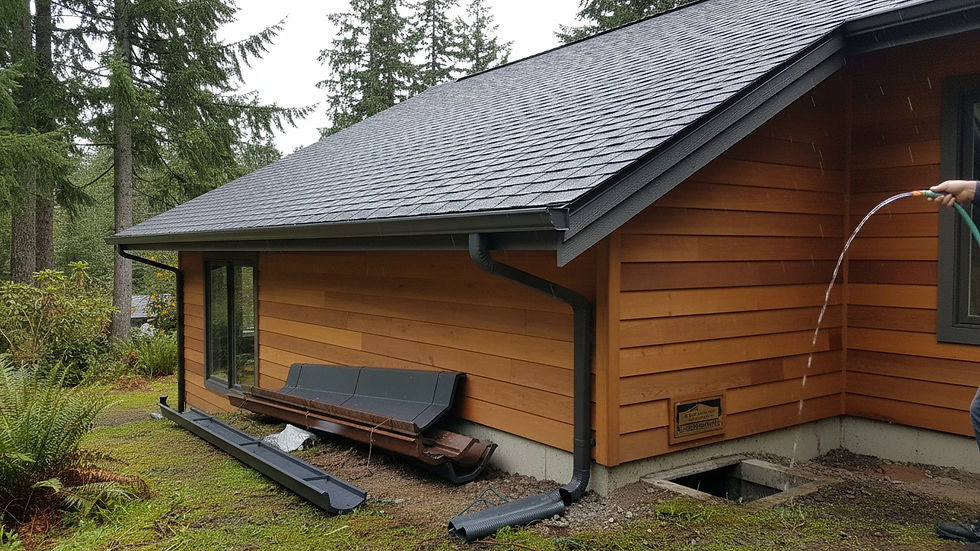
Grab a hose next and test the repair before you climb down for good. Spray water above the repaired area for several minutes while someone watches from inside the attic with a flashlight. This step catches a bad repair of roof work before the next real storm does it for you.
A repair that hasn't been water tested is just a guess with a nail gun.
Final check before you climb down
Sealant is smooth, not raised or lumpy
No visible daylight around flashing edges
Attic stayed dry during the hose test
Shingle lines up with the surrounding exposure pattern
Give it 24 hours and check the attic again after the next real rain. If you see any moisture at all, that's your sign the fix needs a professional look.
Protecting your roof for the long run
A solid repair of roof damage today buys you years, not weeks, if you diagnose the source correctly and seal it properly. The steps above cover what most homeowners face: a cracked shingle, a flashing gap, a stain that traces back to one clear entry point. But every roof eventually shows damage in more than one spot, and that's the moment a patch stops making sense.
Don't wait for a second leak to confirm what the first one already told you. Regular inspections catch small issues before they become rotted decking, and a professional set of eyes spots what a flashlight and a hose test can miss. If you're in Kirkland, Bellevue, Redmond, or the surrounding areas and want a straight answer on whether your roof needs a repair or a replacement, schedule your free roof inspection and locked-in price quote before the next storm makes the decision for you.